Groups
When you group a set of shapes, the resulting Group will behave as a single shape that you can resize and move around the canvas. This is highly desirable in complex documents, because it provides a way to "hide" the complexity in a logical fashion, making the document more manageable in the process. You can also:
- Create a smart group, with a custom resizing behavior for its content
- Give an outer shadow to the group content
- Control the transparency of the group content
- Achieve interesting visual effects by using non-standard blending mode
- Clip the group content to a certain shape
Grouping & Ungrouping Shapes

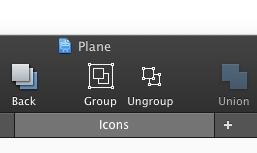
To create a group, select one or more things in the canvas, then click on the Group icon in the toolbar. To do the reverse, select a group you want to ungroup, then click on the Ungroup icon in the toolbar.
Groups can be nested; you can have groups of groups.
Editing a Group
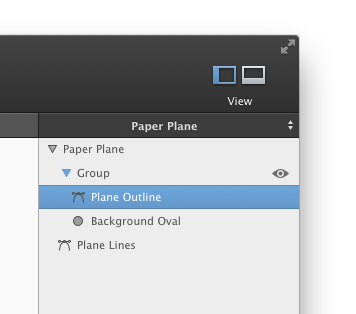
To edit a group, simply double-click it (either directly in the canvas, or in the Shapes & Groups Browser). Alternatively, you can also select some of the group's child shapes from the Shapes & Groups Browser. This will activate the enclosing group.

When a group is being edited (or active), it's content shapes can be freely adjusted and moved around. An active group has a blue disclosure triangle in the Shapes & Groups Browser.
To stop editing a group, press the ESC key or click outside the edited group in the canvas.
Shadow & Opacity

Using the Inspector, you can assign a shadow to the whole group. The group will drop a shadow as if it were a single shape. There is a difference between assigning a shadow to each individual shape inside a group (left) and assigning a shadow to the enclosing group (right).
Similarly, the opacity of a group can also be adjusted. As with shadow, the opacity is applied to the whole group, as if it were a single shape. Overlapping shapes with 50% opaque colors (left) and a group with 50% opacity (right) look differently.
Blend Modes
Blend mode affects how the contents of a group are drawn over the underlying graphics. See Apple's blend mode documentation for more information.

Clip
In the group's inspector, you can (optionally) specify a clipping shape. The group's drawing will then be limited to the clipping shape interior. The clipping shape looks like a white-black dashed line in the drawing canvas.
Smart Groups
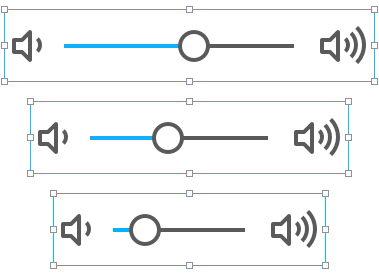
With Smart Groups, you can define how the group's content should behave when the group is resized and moved around the canvas. This allows you, for example, to create a resizable user interface control which you can then use conveniently multiple times in the canvas. Each control can be represented by a separate smart group and manipulated easily:

Making a smart group is really easy. First, create a dynamic drawing using Frames. Then, simply select the entire drawing (including the frame) and group it. The resulting group will be a smart group - when you resize it, the contents will resize according to the resizing constraints you've specified when defining the relationship between the content shapes and the frame.
If you already have a group, you can easily make it a smart group by adding a Frame inside.
Indeed, the only difference between regular groups and smart groups is that smart groups have frames inside them. If you place a frame inside a group, the frame will only affect other shapes inside the same group.

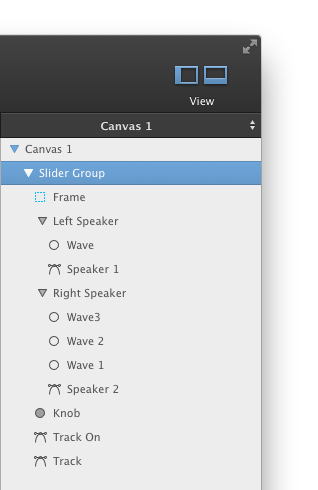
On the right, you can see the structure of the slider control smart group. By adding a frame inside this group and setting the resizing constraints properly, we've created a group that is easily resizable (and reusable) across the document.
